Choose the object
Identify Earth, touching surfaces, taut ropes, and other objects that interact with the selected object. Keep forces on other objects on their own diagrams.
 BuildPhysics
AP Physics 1 · Unit 2, Part 1 · Forces
Draw the forces acting on one chosen object. Practice 18 situations involving surfaces, ropes, friction, inclined planes, falling objects, and projectiles.
18 questions18 diagram-drawing questions
Start practiceFree · No account required · Self-paced
 Open interactive practice
What you’ll practice
Identify Earth, touching surfaces, taut ropes, and other objects that interact with the selected object. Keep forces on other objects on their own diagrams.
Add weight, normal force, tension, friction, and applied forces. Use each surface and rope’s orientation to choose the arrow direction.
Use rest, steady motion, and acceleration to decide which forces balance. Handle angled pulls, two ropes, and multiple supporting contacts.
A question from this set
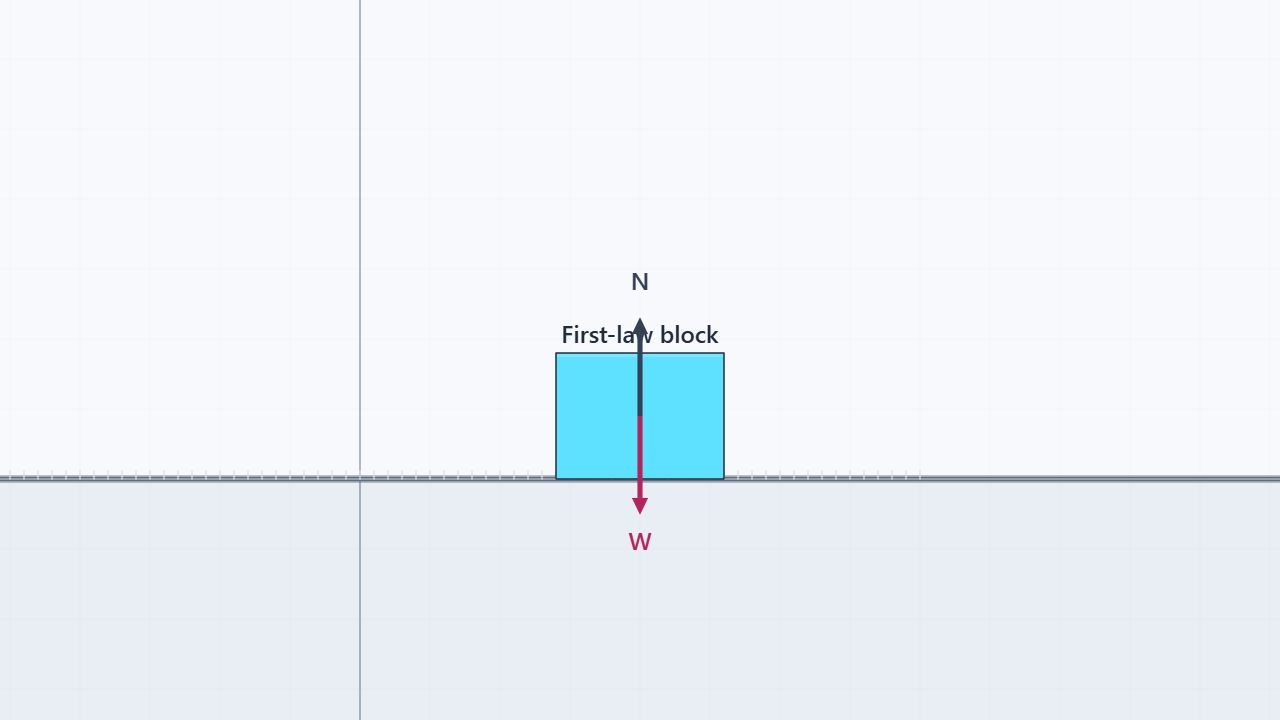
Draw the forces on a tablet resting on a level desk. Nothing pushes or pulls it horizontally.
Draw and label your force arrows in the practice set. Check the force types, directions, and relative lengths.
Try it in the practice setKey ideas
A desk exerts a normal force; a taut rope exerts tension. A ramp’s normal force points perpendicular to its surface, while weight stays vertical.
Components help with calculations, but a free-body diagram should not count an original force and its components as separate interactions. Use relative lengths to show the required balance.
See the physics
Use the diagram editor to add and label arrows. Check their types, directions, and qualitative lengths, then run the scene to compare your diagram with the object’s motion and force arrows.
Use the hints to reconsider interactions and directions. Worked solutions show the force diagrams and explain their balance. Your progress saves in this browser.
Draw your first force diagram and check the interactions.